Understanding The Importance Of Drip Edge Installation
Your roof plays both an aesthetic and functional role on your home’s exterior. Roofing provides insulation and protection—from water, snow, wind, falling objects, and more. Creating a roof isn’t as simple as it might seem, however, and roofing is made up of several crucial components that keep your home protected.
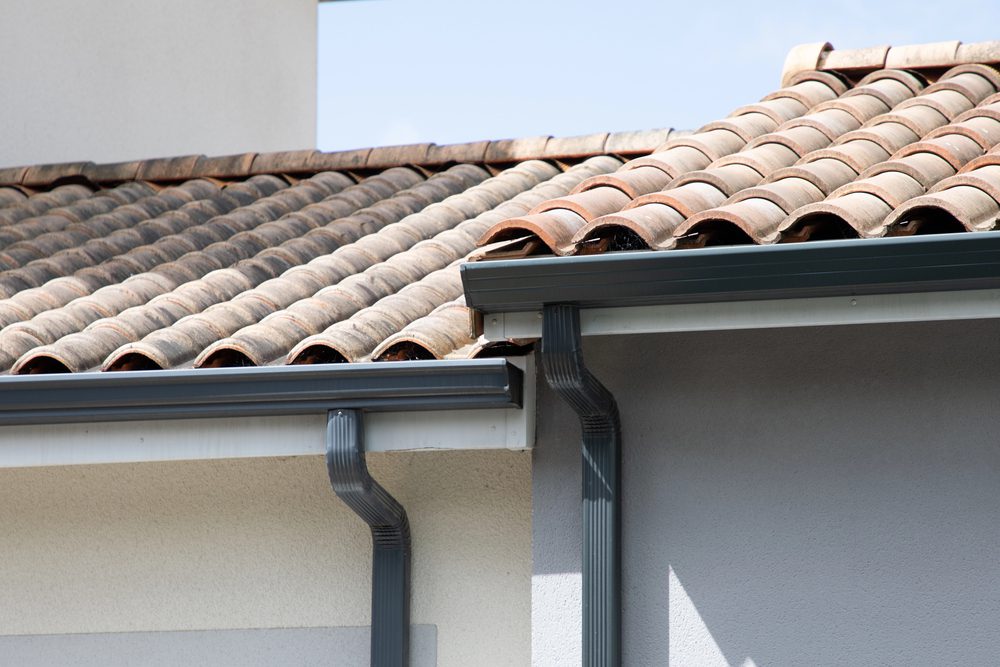
Drip edges are one of those components; they divert water away from the fascia (the boards that run along the lower edge of your roof) and toward your eavestroughs. This article will give you a detailed overview of the importance of drip edges on metal roofing, the tools and materials you’ll need to install them, step-by-step installation instructions, and even some tips and tricks to ensure that your drip edges keep protecting your home for decades to come:
What Is Drip Edge And Why Is It Crucial?
In the simplest terms, drip edges are metal sheets—usually L-shaped—that divert water away from your home’s fascia and into the gutters. Aside from diverting water, they also help protect the edges of your roof from any wind-driven precipitation. Wind can push precipitation toward the edge of your roof and then up, below your metal roofing; properly installed drip edges prevent this.
Before we dive into how to install a drip edge, here are a few important notes to keep in mind:
- Metal roofing installation is complex, and should be handled by an expert—this guide will help you install a metal drip edge as part of a metal roofing system, but we recommend you only tackle it if you have some home improvement experience.
- You’ll want to use high-quality drip edge material; we recommend Galvalume steel over traditional galvanized steel for Winnipeg because it’s better at handling moisture and temperature fluctuations.
Tools And Materials Needed For Installation
To begin, you’ll need to make sure you have all of the materials and tools needed for your project; taking a trip to your local hardware store before the project is always better than halting the project to pick up something you forgot. Here’s what you’ll need:
- Drip edges (which you can source from IroSteel)
- Roofing nails
- A hammer
- A measuring tape
- Tin snips
- A ladder
- Roofing cement (in some circumstances)
- Safety equipment, including:
- A roofing harness
- Roofing brackets (toe boards)
- Heavy-duty gloves
- Safety glasses
- Non-slip boots
- Long-sleeved, durable shirt and pants
Safety Precautions Before You Begin
We want you to be as safe as possible when installing drip edges on your metal roof. Here are a few precautions we highly recommend you take:
- Never work on your roof if it’s snowing, raining, or windy outside.
- Always test and secure all of your safety equipment before beginning.
- Remember the three-point contact rule for ladders; have two hands and one or two feet on your ladder at all times.
- Secure your tools on the roof.
- Don’t work alone—and work with an experienced partner.
- Don’t start a roofing project unless you’ve had home renovation experience.
Step-By-Step Installation Process
Preparing The Roof Edge
With any roofing project, the first step is ensuring that you’re working on a clean, well-prepared surface. Check the underlayment, fascia, and any other areas you’ll be working in and around for damage, deterioration, rot, mould, or other problems. Fix these problems before you begin. Clean the roof’s edge of any debris, dirt, and other obstructions.
Measuring And Cutting The Drip Edge
The drip edge should be cut to the length of eaves and rake and not longer—this is one of the rare circumstances where having your material cut too short is better than having it cut too long (though ideally, you’ll cut it just right). When your drip edge is too long, it can overlap your rake edge (if you have a gable roof), and that causes problems down the line (at best, you’ll have to cut your drip edge again while standing on your roof—not ideal).
Once you’ve carefully measured your edges, cut them to size with your tin snips. You can skip this step if you’re sourcing your drip edges from IroSteel; we can custom manufacture them to fit your roof perfectly.
Installing Drip Edge On The Eaves
Drip edges should be installed under the underlayment on your eaves; if you already have the underlayment installed, you’ll need to lift it in order to install your drip edge.
The drip edge should be placed so that water will fall vertically along it into your gutters. You don’t want the side of your drip edge to be completely flush with your fascia; if it is, surface tension can cause water to wick back toward the fascia, defeating the whole purpose of the drip edge. Instead, you should leave a 0.6 to 1.3 cm / ¼ to ½-inch gap between the fascia and the drip edge.
With your drip edge in position, you can secure it using roofing nails and a hammer; space your nails about 30.5 to 40.6 cm / 12 to 16 inches apart, starting a few inches away from the edge of your drip edge. Before nailing, you may want to use a small amount of roofing cement where the drip edge meets your roof’s decking, especially if you have a low-slope roof.
When two pieces of drip edge meet, you’ll need to overlap them; the overlap should be about 7.6 to 10.2 cm / 3 to 4 inches. This ensures that water can’t seep between sections of the drip edge.
Finally, when your drip edge meets the corners of your roof, you’ll have to fold the drip edge around the corners to maintain a tight seal.
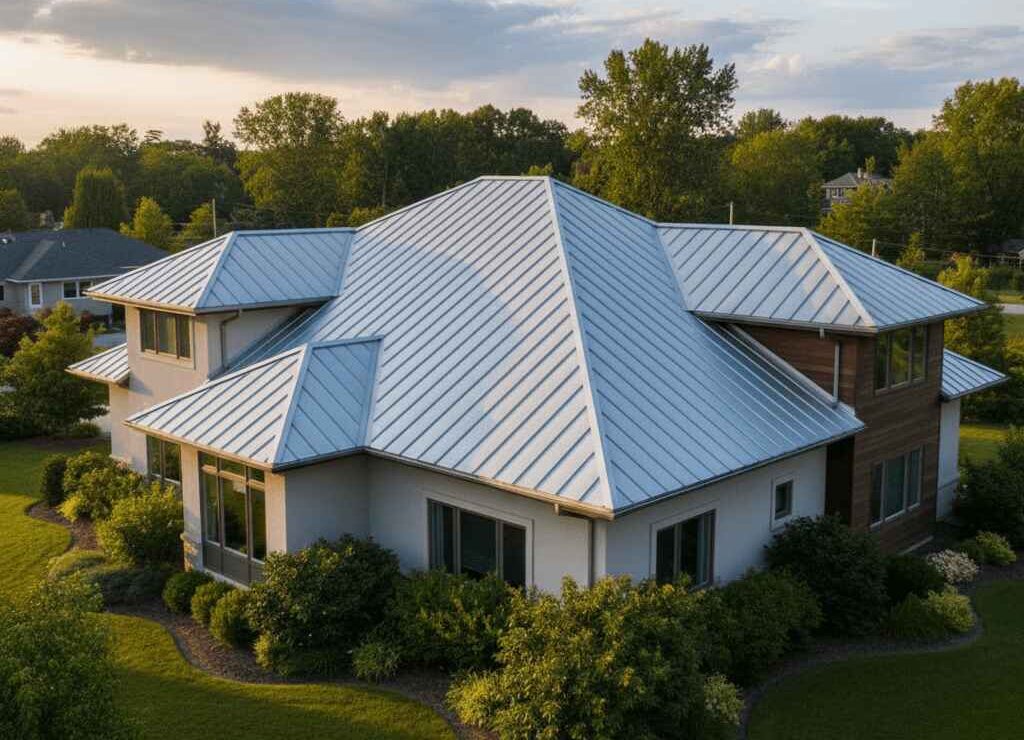
Once the drip edge is installed, you’ll install your metal roofing; it’s important to know that your metal roof should overhang your drip edge by 2.5 to 3.8 cm / 1 to 1.5 inches.
Installing Drip Edge On The Rakes
Installing drip edges along the rakes is a similar process; a drip edge installed along the rakes is also called a rake edge. The core difference between the two is that rake edges are installed over the underlayment, rather than under it. The spacing between the fasteners and the overlap between edges remains the same.
You’ll want to pay careful attention to the corners where the drip edge and rake edge meet; the drip edge will wrap under the rake edge, creating a sealed corner. You’ll need to cut and fold your drip edge to fit it under the rake edge.
Securing The Drip Edge
Once you’re done installing your drip and rake edge, you may want to secure them further by adding a small bead of roofing cement along the top edge of both—but don’t add too much, or you might prevent water from draining.
Common Mistakes To Avoid During Installation
Installing a drip edge on a metal roof is a complicated process, and there are a few key mistakes you want to avoid:
-
- Don’t install drip edges overtop of underlayment like water and ice shields.
- Don’t install rake edges under underlayment; they must be installed over top.
- Don’t install drip edge flashing flush with the fascia; ideally, you’ll leave enough of a gap that it’s easy to install gutters under the drip edge.
- Install drip edges with care—don’t get up on a roof if you don’t have any experience, and work with an experienced partner.
- Ensure that there’s a 7.6 to 10.2 cm / 3 to 4-inch overlap when two pieces of drip edge or rake edge meet.
- Safety first—make sure you’re using all of the recommended safety equipment during installation.
- Follow your local building codes to ensure compliance.
- Follow manufacturer instructions to make sure that your drip edge and metal roofing work perfectly together.
Maintenance Tips For Installed Drip Edge
Once your drip edge flashing is installed, it’s important to clean and maintain it regularly. Metal roofs have a lifespan of 50 years or more—but proper maintenance is crucial to keep that lifespan up.
Clean out any debris between your drip edge and gutters or roof edge regularly. Replace any rusted, bent, or damaged section of the drip edge; we recommend doing a visual inspection of your drip edges twice a year to ensure there are no problems.
Ensuring Long-Lasting Protection With Proper Drip Edge Installation
By using a high-quality drip edge and following these installation instructions, you’ll be able to protect your roof edge, fascia, and gable from damage, all while preserving the aesthetics of your home and boosting the lifespan of your metal roofing.
Here at IroSteel, we provide high-quality, Galvalume steel drip edges for homeowners and business owners. If you have metal roofing or you’re looking to install metal roofing in Winnipeg, we have everything you need—get in touch with us today!